How to move React.Js + Node.Js full-stack application from free Heroku dyno to Render.com?
As of 28th November 2022 Heroku shuts down its Free Dynos and removes every deployment using it. It is bad news for everybody who will run into a tutorial that starts with "Let's create a full-stack web app and deploy it on the fly to Heroku for free". So long tutorial writers.
It has been indeed the best free cloud hosting for hobby projects even if the deployments on the so-called "dynos" idled after inactivity and took 30 seconds to wake up. My own React.Js Node.Js/Express.Js full-stack apps are also affected (see my old blog post about the Heroku idling topic) so I started to look for a new place where I can deploy small projects within a free plan and I choose Render.com.
Render is a cloud platform for Ruby, Node.js, Python, Rust, Go, and PHP-based applications. with free TLS certificates, global CDN, private networks and auto deploys from Git.
It provides a similar range of services as Heroku.
Let's see how can we migrate our free Heroku React.Js+Node.Js full-stack applications from Heroku to Render.com.
preparations
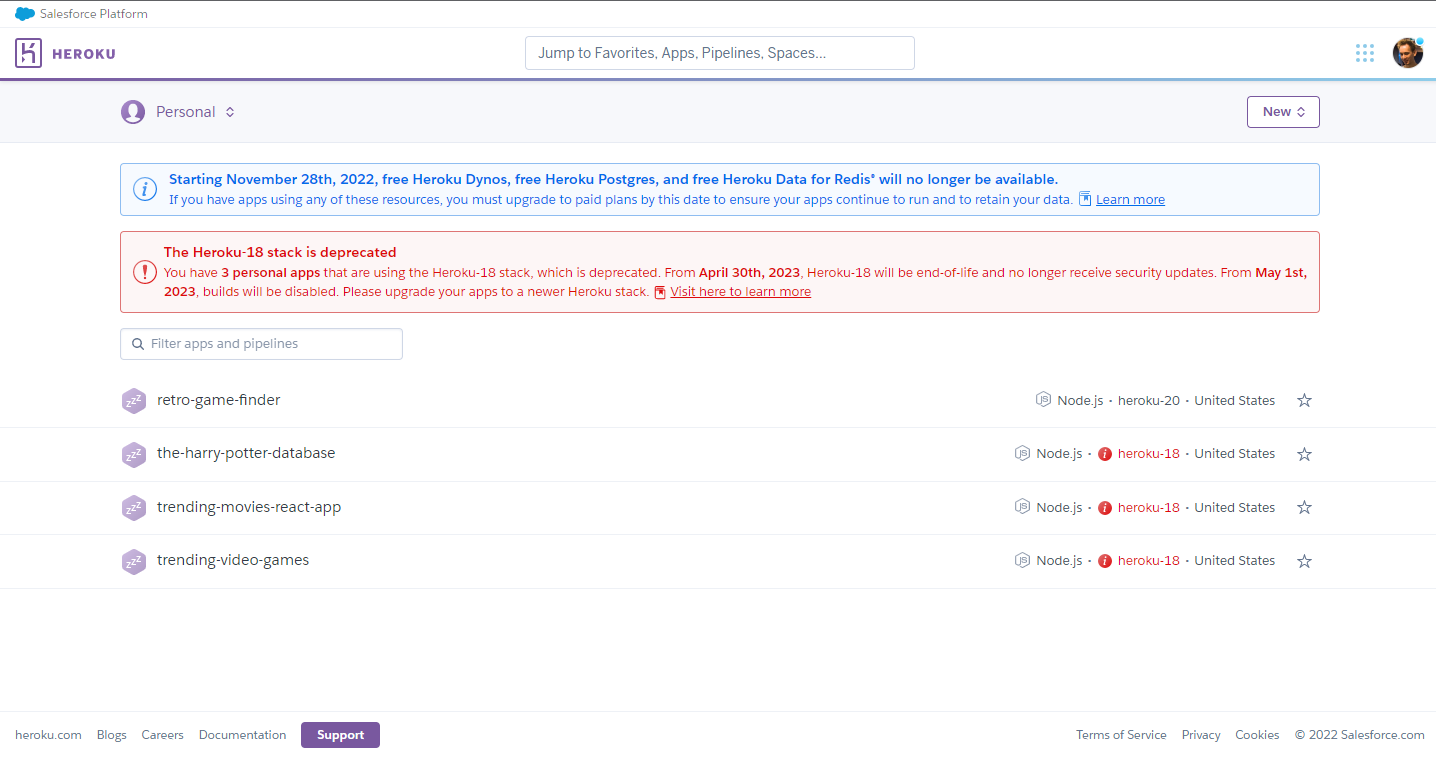
First, visit your Heroku dashboard at https://dashboard.heroku.com/apps. I will migrate retro-game-finder in this post.
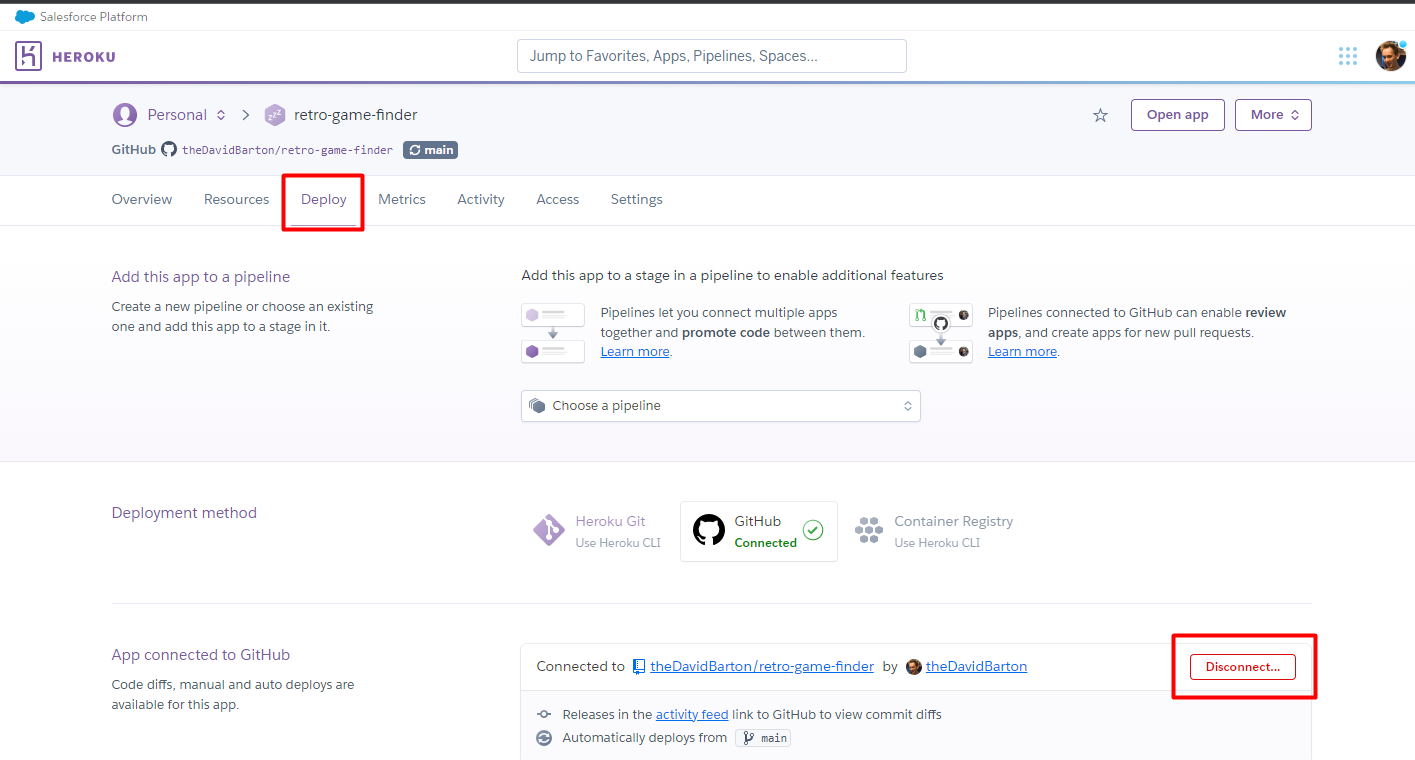
Select the app and visit its "Deploy" tab. Here you can disconnect it so your merges on main branch won't auto-deploy the new changes to Heroku. Like this, you can avoid the following Render-specific changes breaking your Heroku deployment (anyway, they will be deleted latest in November 2022).
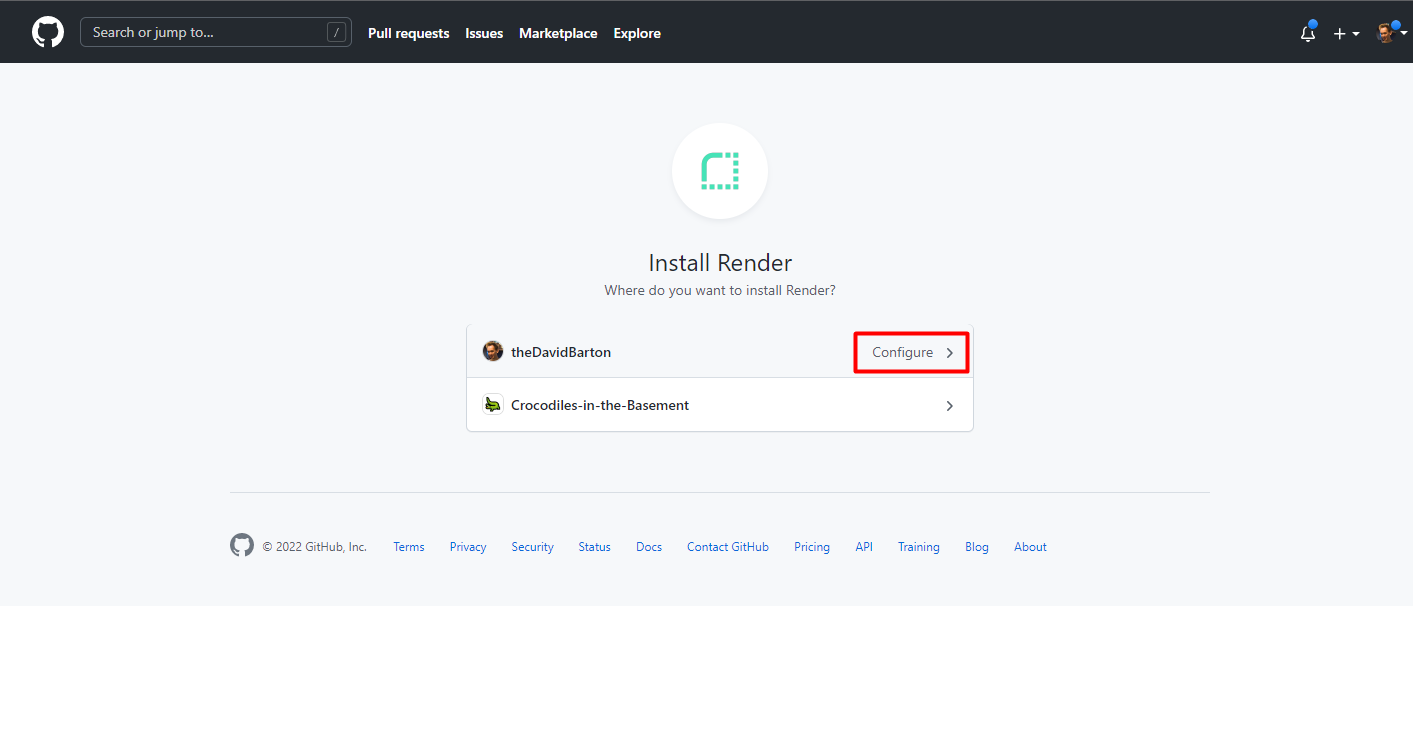
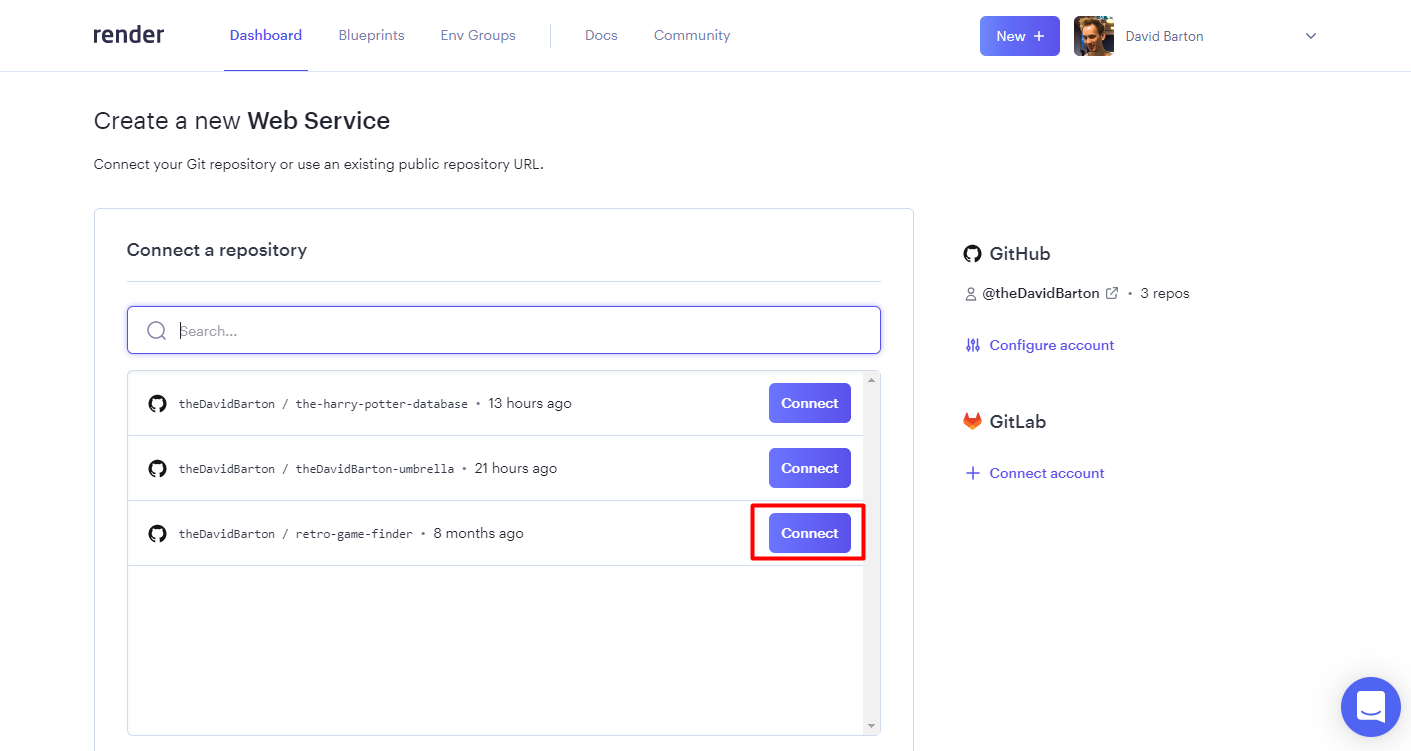
Now we can go forward to connect the project to Render. Once you've registered to Render.com with your Github profile (it is Free, requires no credit card number, and is not part of the current post but you can check the Docs if you'd be stuck with the signup process) you can configure which repositories to connect with the platform. You can do it on the https://github.com/apps/render/installations/new link. Select your actual Github profile/project and click "Configure".
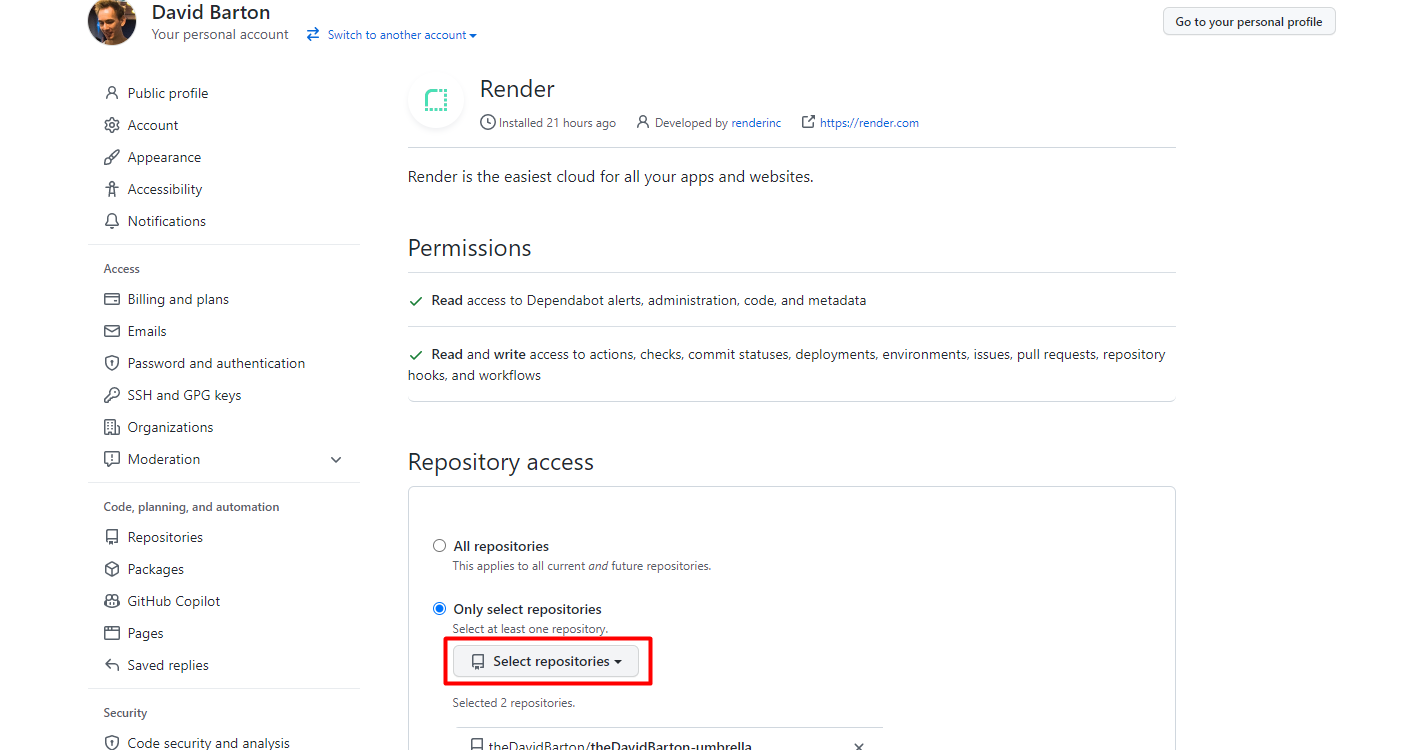
You can allow Render to connect with all your Github repositories, I select only those I will deploy to this provider. I select theDavidBarton/retro-game-finder from the list of repos.
set up backend
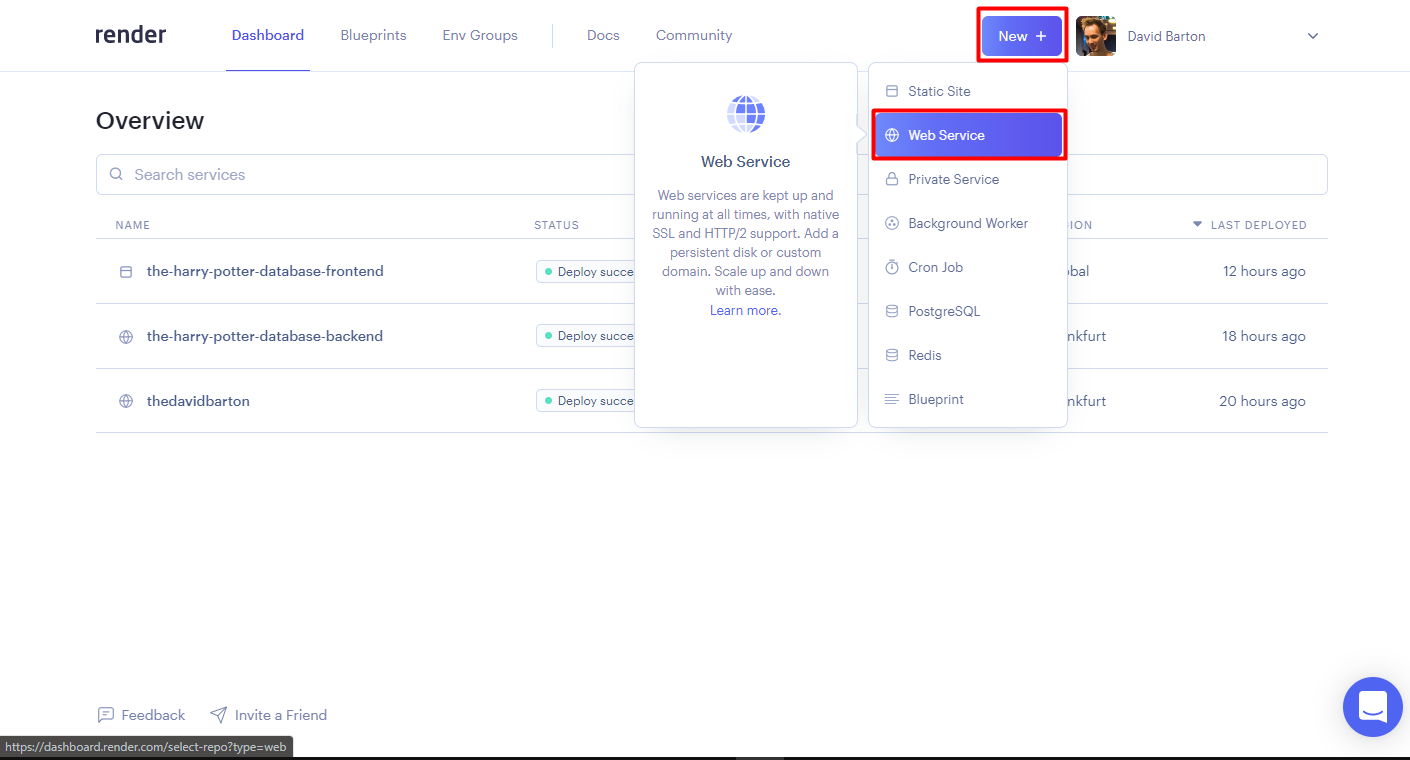
On https://dashboard.render.com/ click the "New" button in the top right and select "Web Service" for your Node.Js backend service.
Connect to theDavidBarton/retro-game-finder.
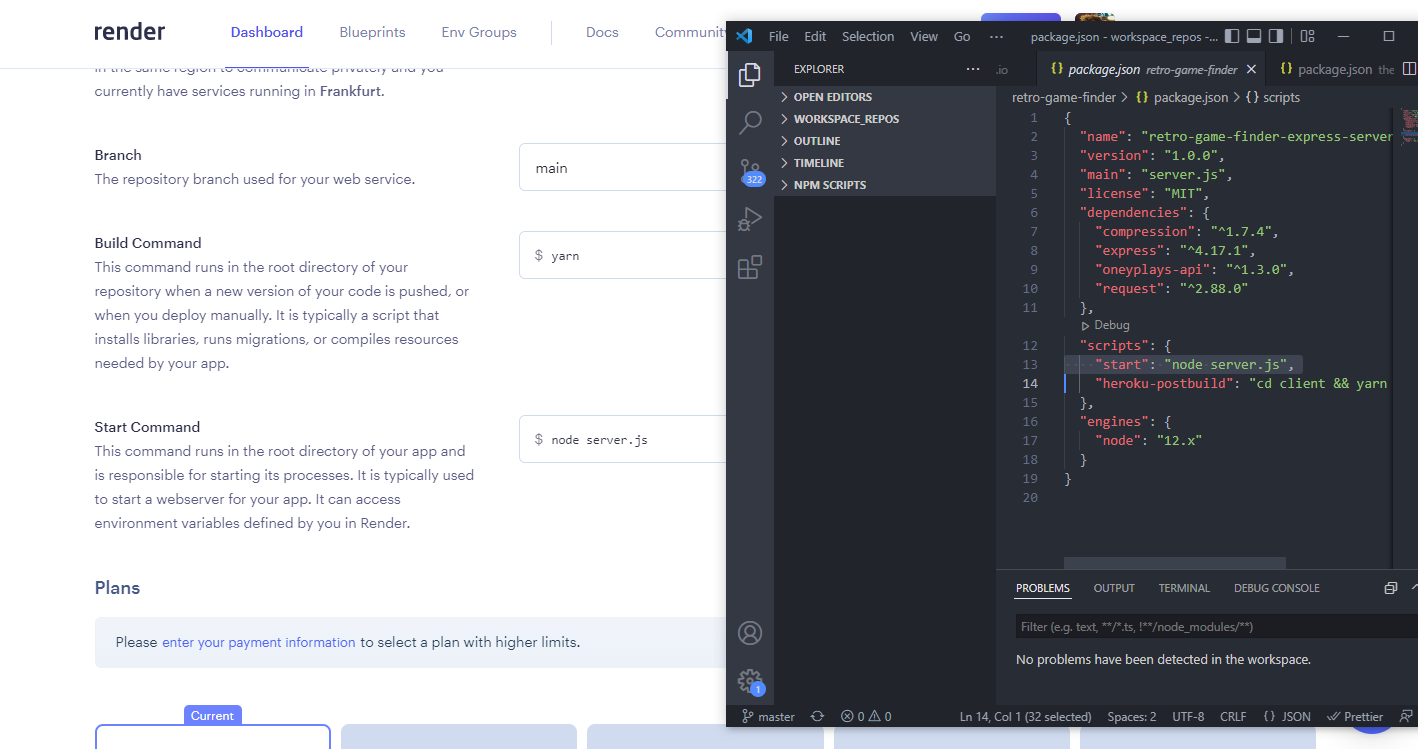
Render will automatically set most of the deployment settings based on your package.json. The Name will be part of your service URL so name it wisely.
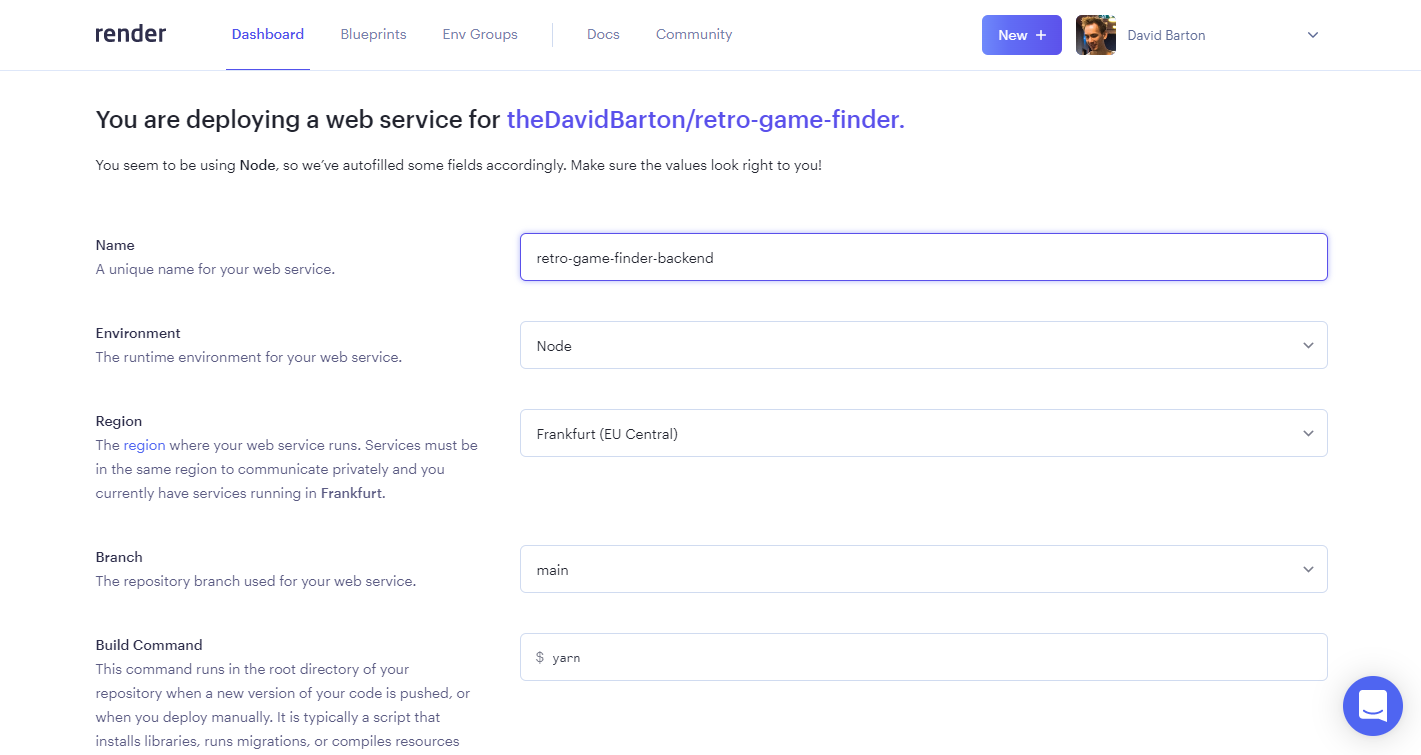
You can see it parses the package file correctly:
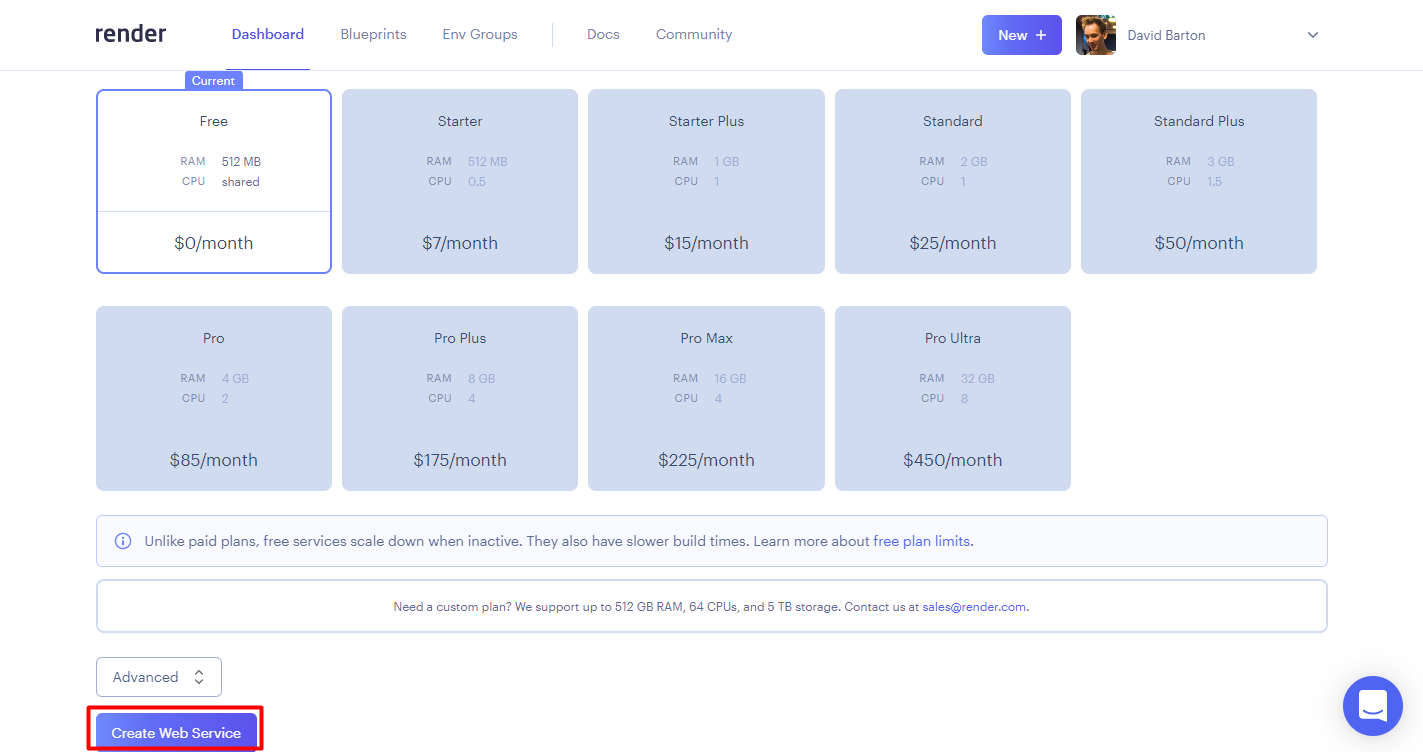
After reviewing the plans at Render you can stay on the Free plan and click "Create Web Service". If you have any environment variables see my update a few paragraphs below.
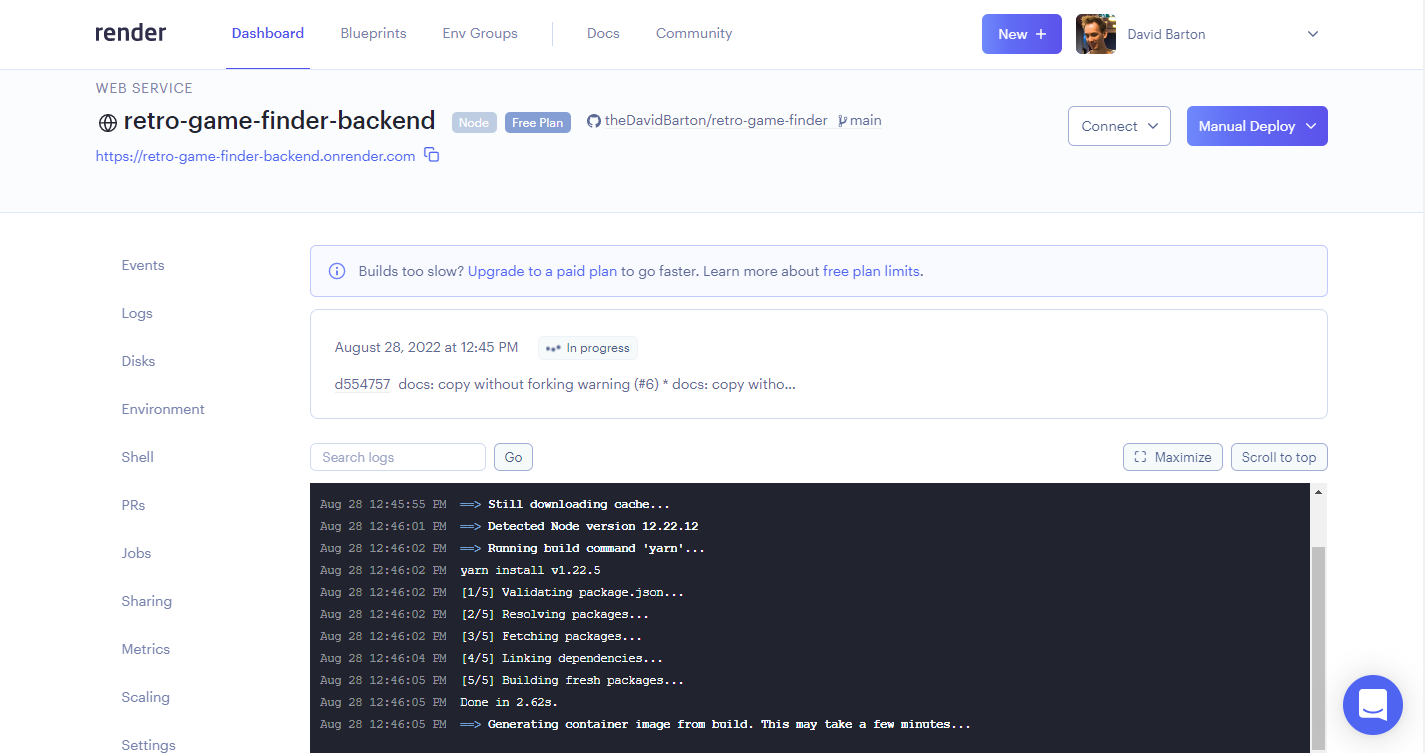
It starts to deploy the Node.Js backend.
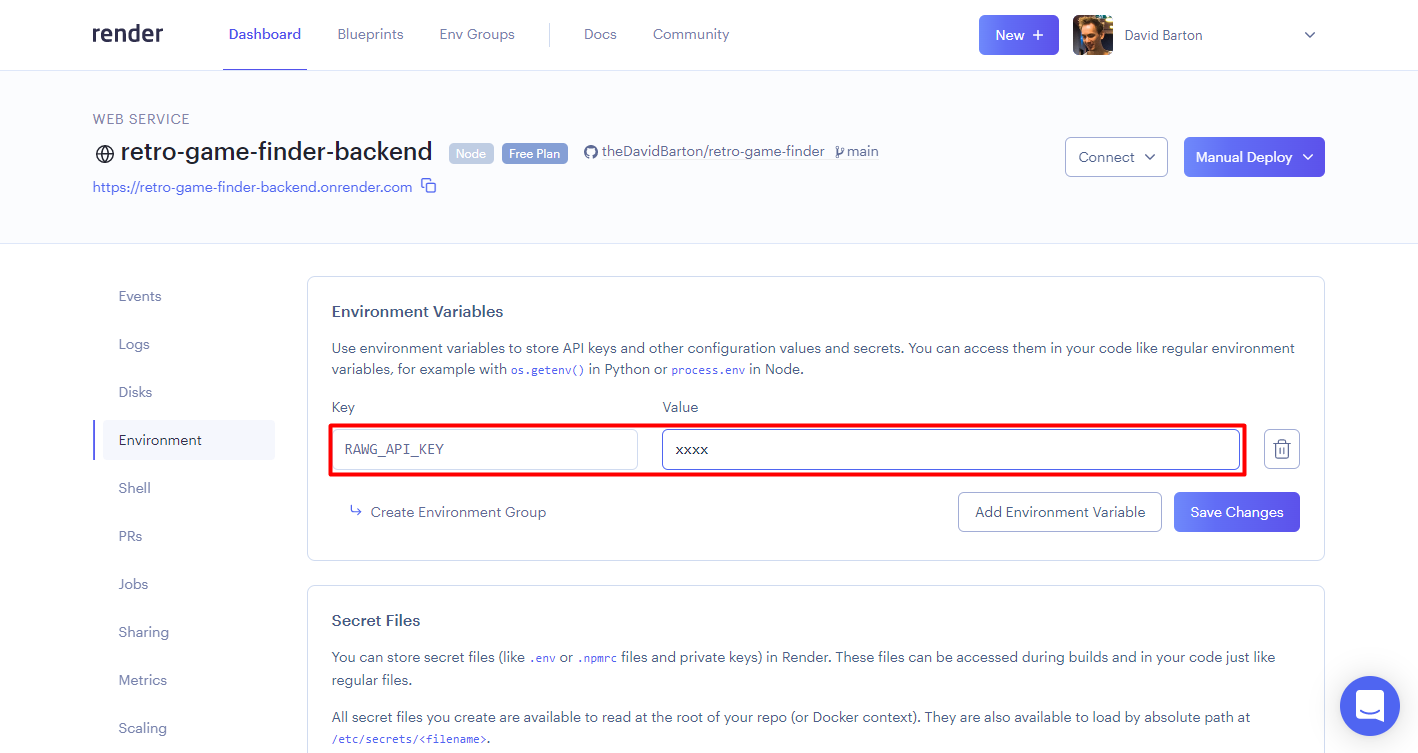
At this point, my app did not start on Render with a missing environment variable error. Let's copy the variables from Heroku by selecting the App on https://dashboard.heroku.com/apps and clicking the "settings" tab. They are called "Config Vars" which can be revealed. (You cannot avoid running into this, as the environment variables can be only set once you created the service) Luckily, you can avoid this easily if you read the update below.

Then on Render selecting the "Environment" tab below the deployment logs where we have been you can add the environment variables.

Here you can either manually deploy again the container image with the big purple button above or you can wait until the next Github merge to main when it will happen automatically.
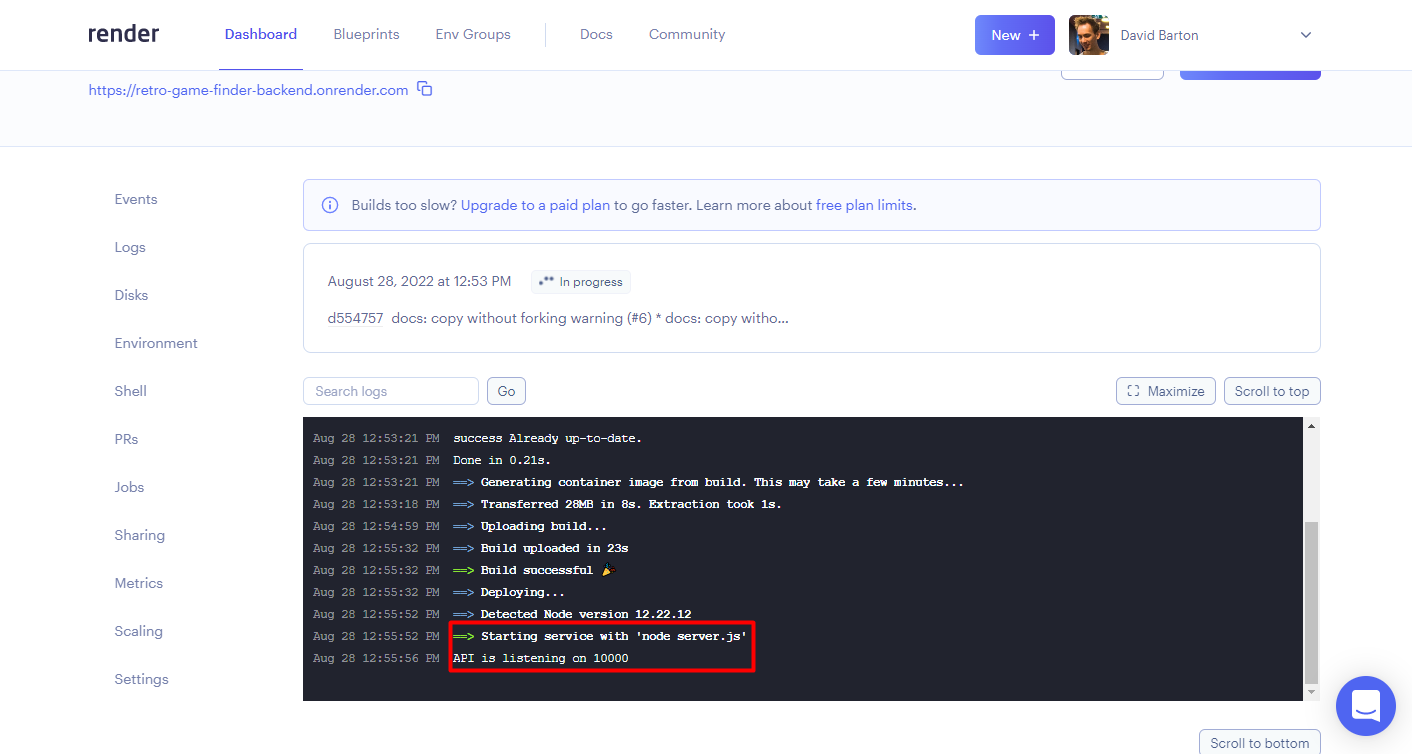
When the service is restarted/redeployed with the environment variables you can test an endpoint.

At this point we have a running Node.Js backend, we can go on deploying the React.Js frontend.
set up frontend
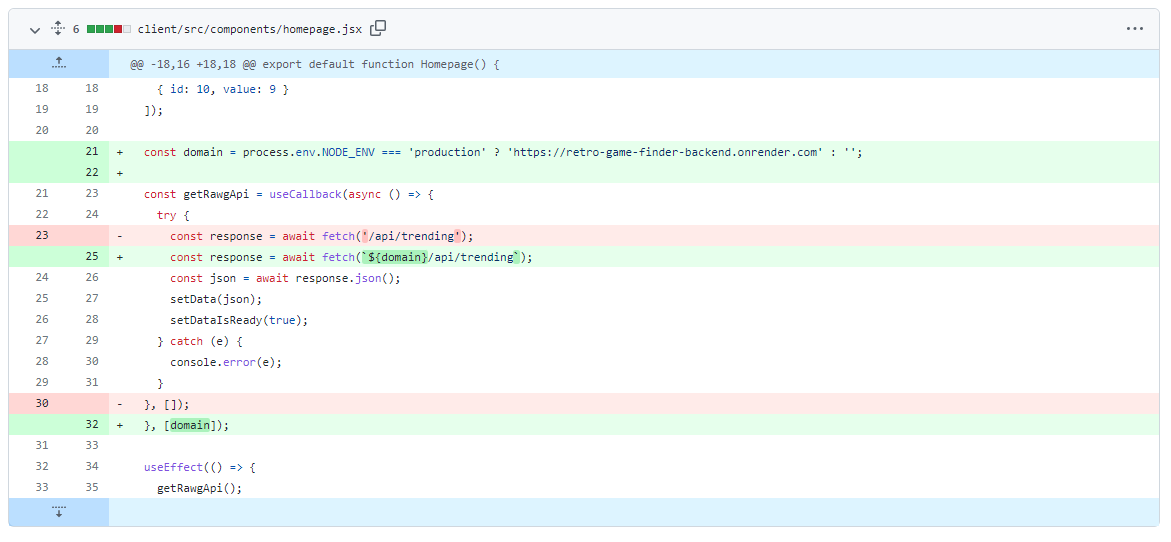
All the frontend migration can be seen in this commit (it only includes some minor cleanup and dependency maintenance you can ignore) https://github.com/theDavidBarton/retro-game-finder/commit/17ff1d0629ecf4cd08ef7d34d8fbe840c92a0d31. The most important changes happen in each react.js components that have internal backend calls. E.g.:
When it will be served from Render we should call the backend URL, when we are in localhost we use the proxy from the React package.json which is set to localhost:5000, but will be proxied so we don't need to set it, let's keep it as an empty string so it can operate in local as before.
const domain = process.env.NODE_ENV === 'production' ? 'https://retro-game-finder-backend.onrender.com' : '';Will be used in a useCallback hook...
const response = await fetch(`${domain}/api/trending`);... that requires domain as a dependency:
}, [domain]); 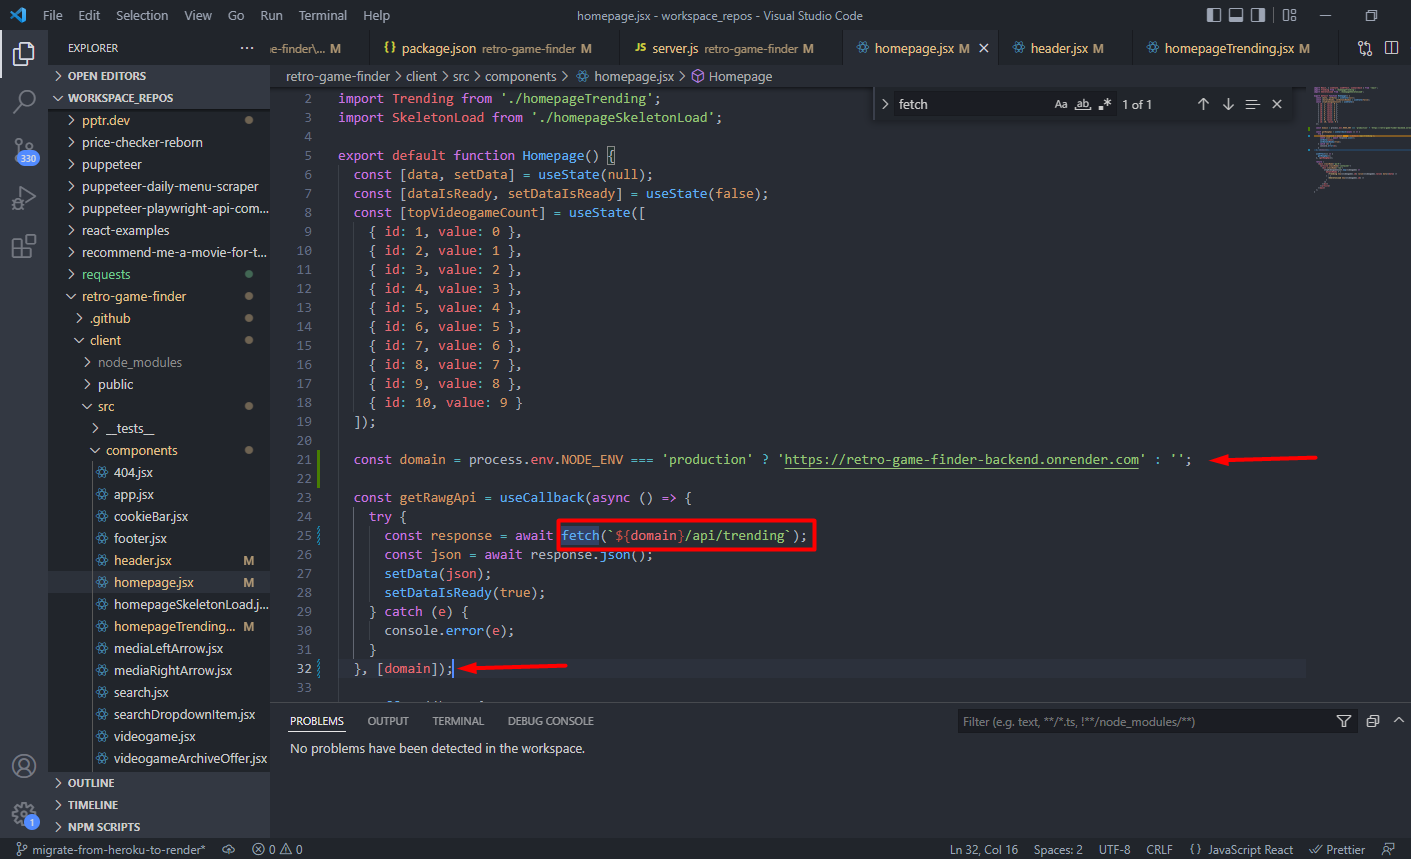
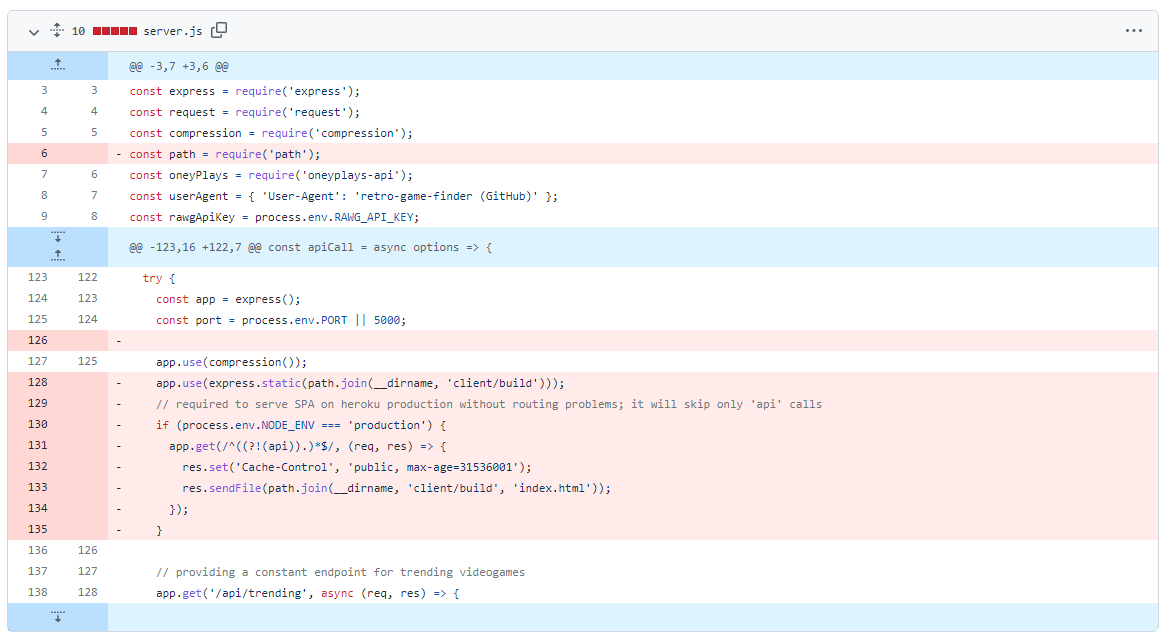
I also removed from the Node backend (Express.Js) the Heroku-specific routing workarounds.
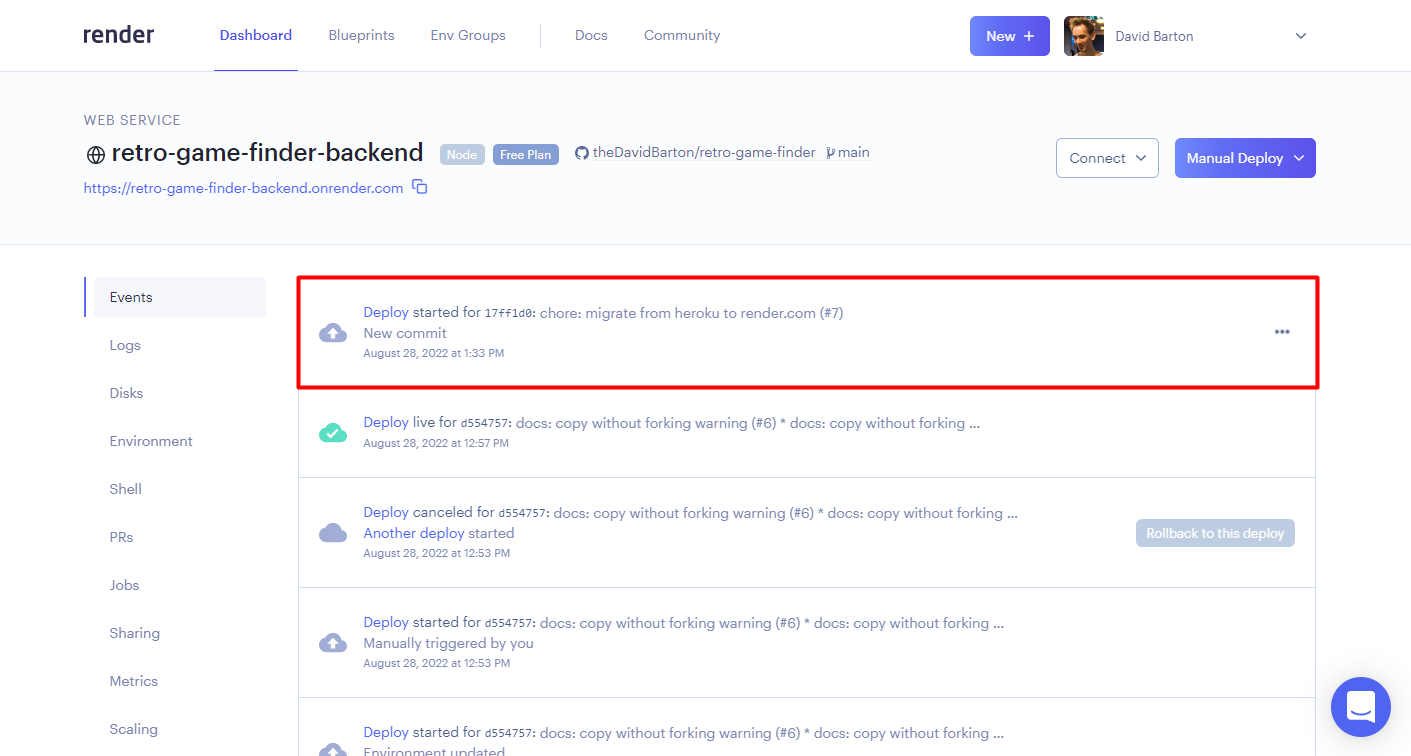
Once we merge the change to main...
... It starts to deploy the backend which is already connected via Github.
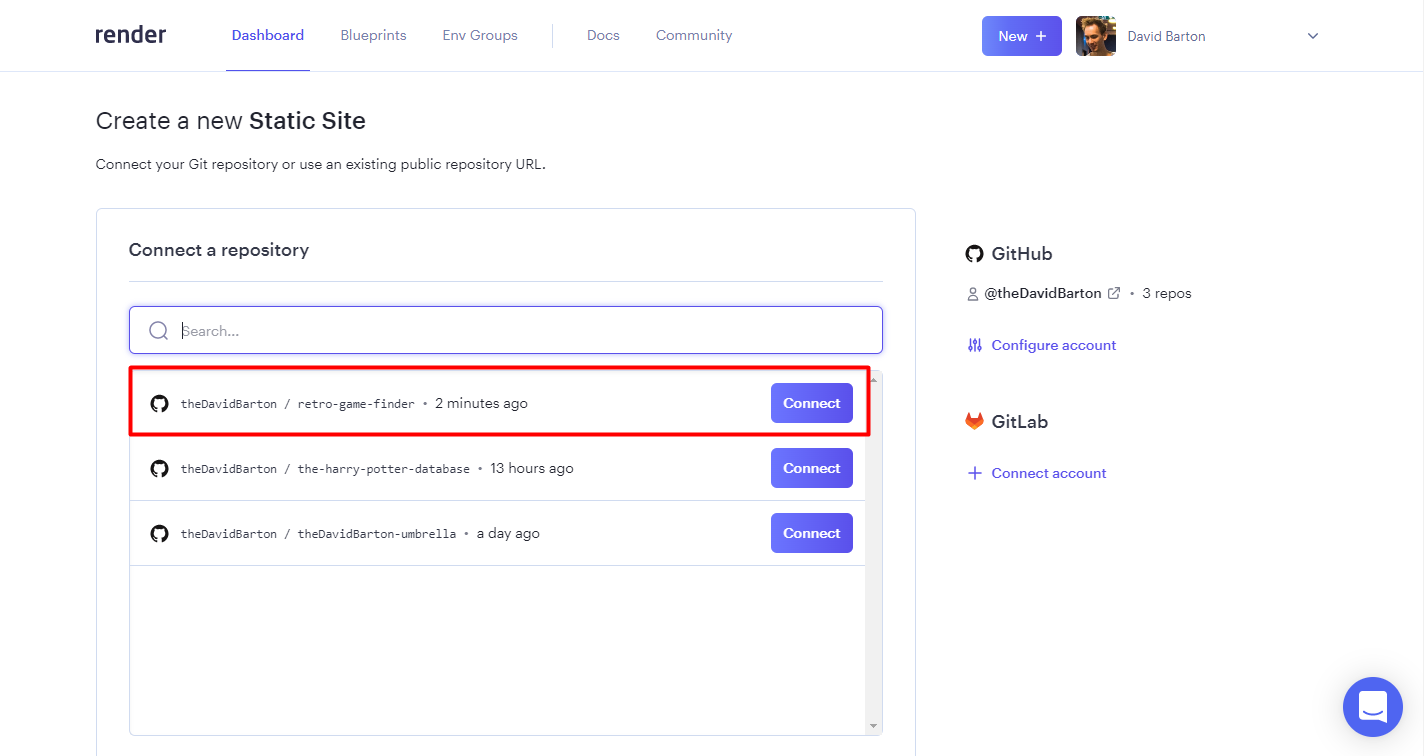
Now let's create a static site with the /client directory. Go to the Dashboard once more and click New > Static Site.

Select again the retro-game-finder repo.
Here you need to make sure you set:
Name: that will be the final applications URL baseretro-game-finder-frontend--> https://retro-game-finder-frontend.onrender.com/Branch: automatically set up correctly tomainBuild Command: in my case, it needs to step into theclientfolder, install dependencies and finally build a production bundle of the React.Js app.$ cd client && yarn && yarn run buildPublish directory: in most cases, it is calledbuild, for me it is located inclient/.
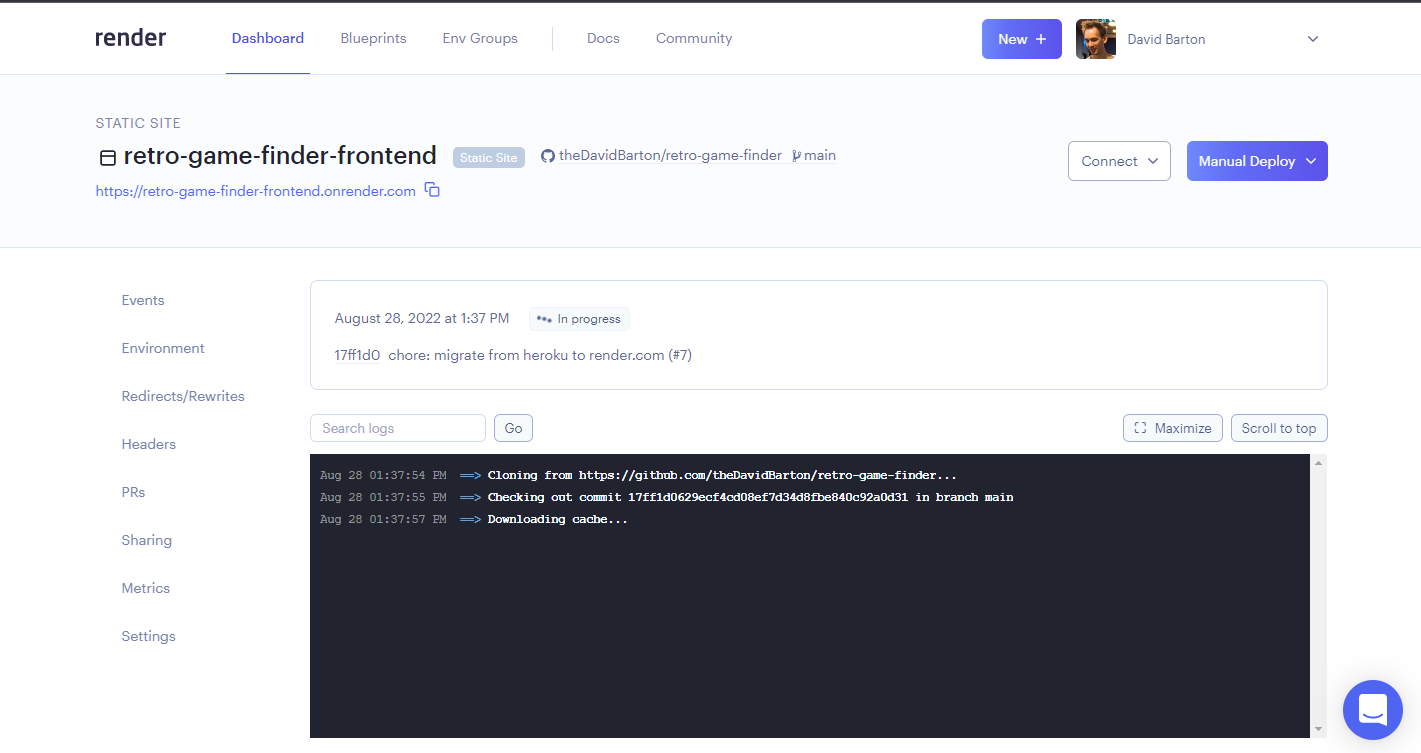
Click "Create Static Site".

It starts to deploy the React.Js frontend.
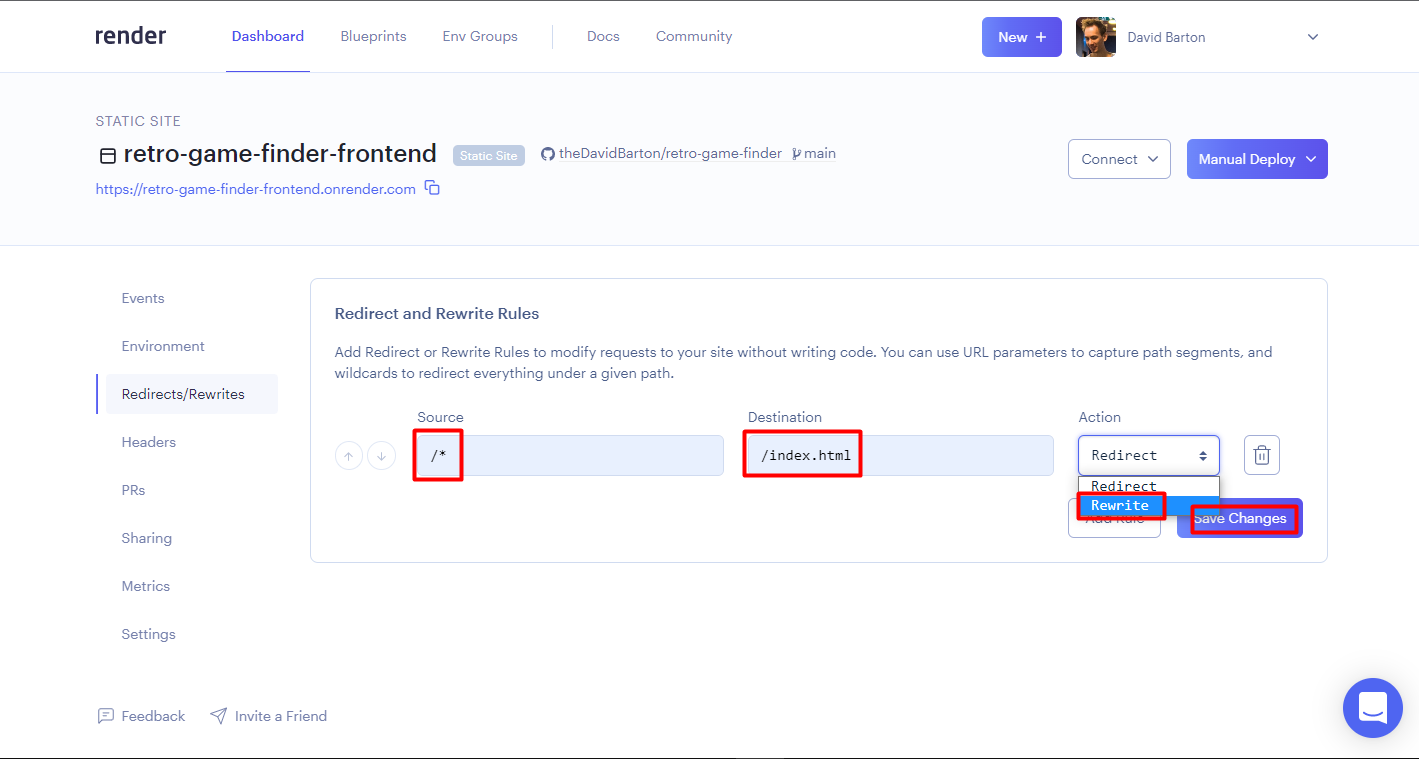
It is important that if you use React Router for routing in a Single Page App then you will need to set specific URL rewrites in the "Redirects/Rewrites" section of the frontend. In the case of Create React App (which I use to bootstrap React.Js apps) they provide these steps on how to set up correctly: https://render.com/docs/deploy-create-react-app.

Source Path: /*
Destination Path: /index.html
Action: Rewrite
Unfortunately, I am not ready, as I totally forgot about CORS when calling other domains as backend from the client-side. On Heroku, it was not a problem as we are able to deploy both frontend and backend on the same dyno with the same service URL.

For this purpose, I install cors npm package.

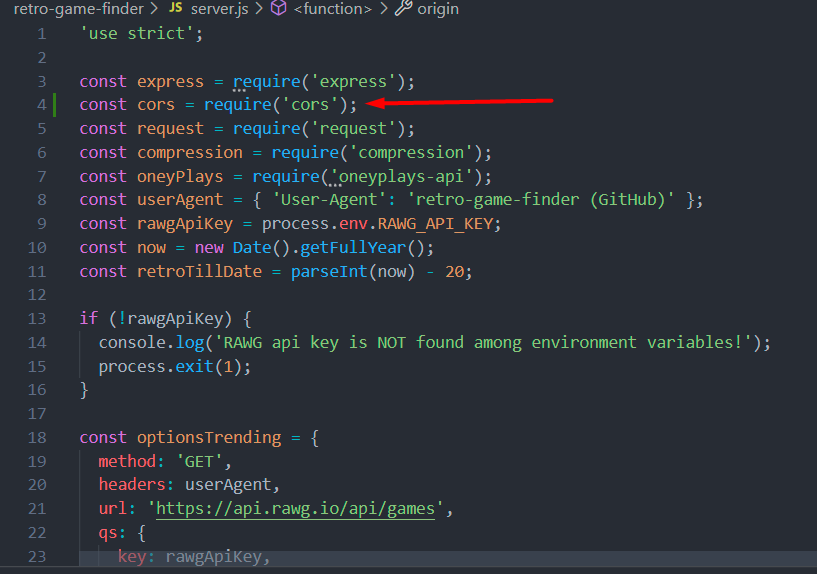
In the Node backend, I add the URL of the frontend as Allow Access Control Origin.
app.use(cors({ origin: 'https://retro-game-finder-frontend.onrender.com' }));
Once I pushed the fix on Github (https://github.com/theDavidBarton/retro-game-finder/commit/730cce725aa389aee89accefc4c7b1b1df10f1e0) we need to wait a few seconds for Render to redeploy the new backend version which includes the correct response header so we have no CORS error:

That's all. It is available and working nicely at https://retro-game-finder-frontend.onrender.com/.